
Creating custom chenille patches for your sports team is a powerful way to showcase your team spirit and pride. These textured and visually appealing patches, often seen on varsity jackets, uniforms, and hats, offer a retro yet sophisticated touch. With their rich, fuzzy textures, chenille patches exude a sense of tradition, craftsmanship, and excellence—qualities every sports team aspires to embody. Whether you’re a high school sports team, a college athletic club, or a professional sports organization, designing the perfect chenille patch requires thoughtful consideration of various design elements.
In this guide, we’ll explore the step-by-step process to create eye-catching chenille patches, from selecting the perfect design to incorporating practical features such as custom Velcro patches or custom sew-on patches. Let’s get started!
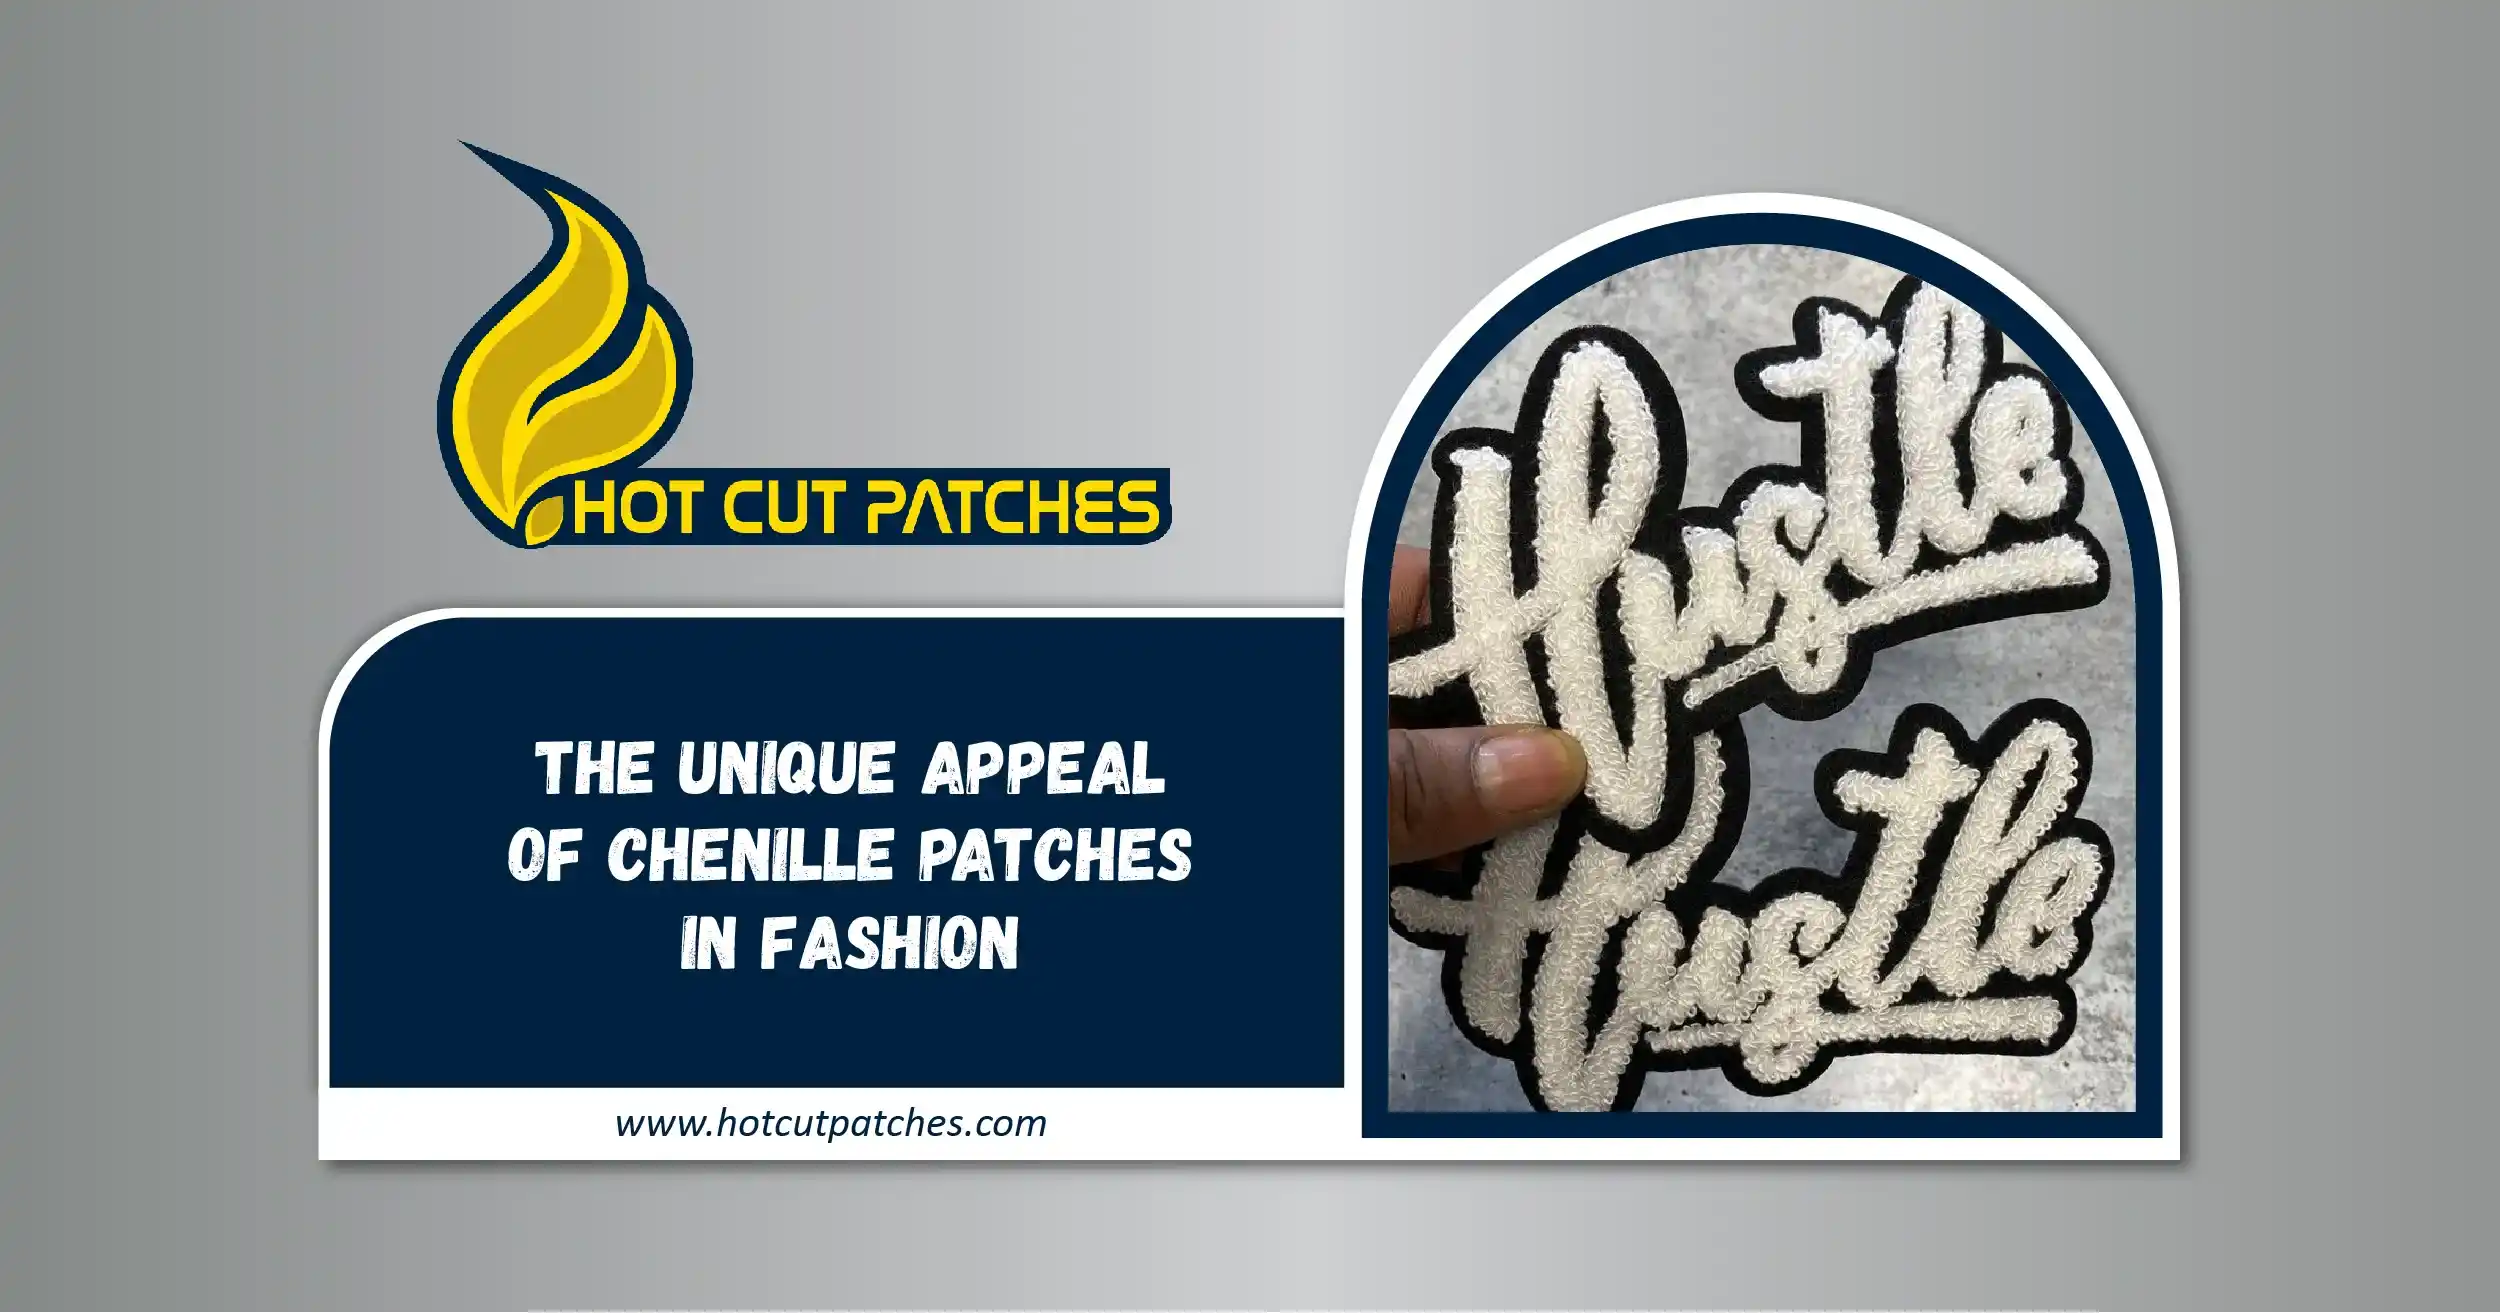
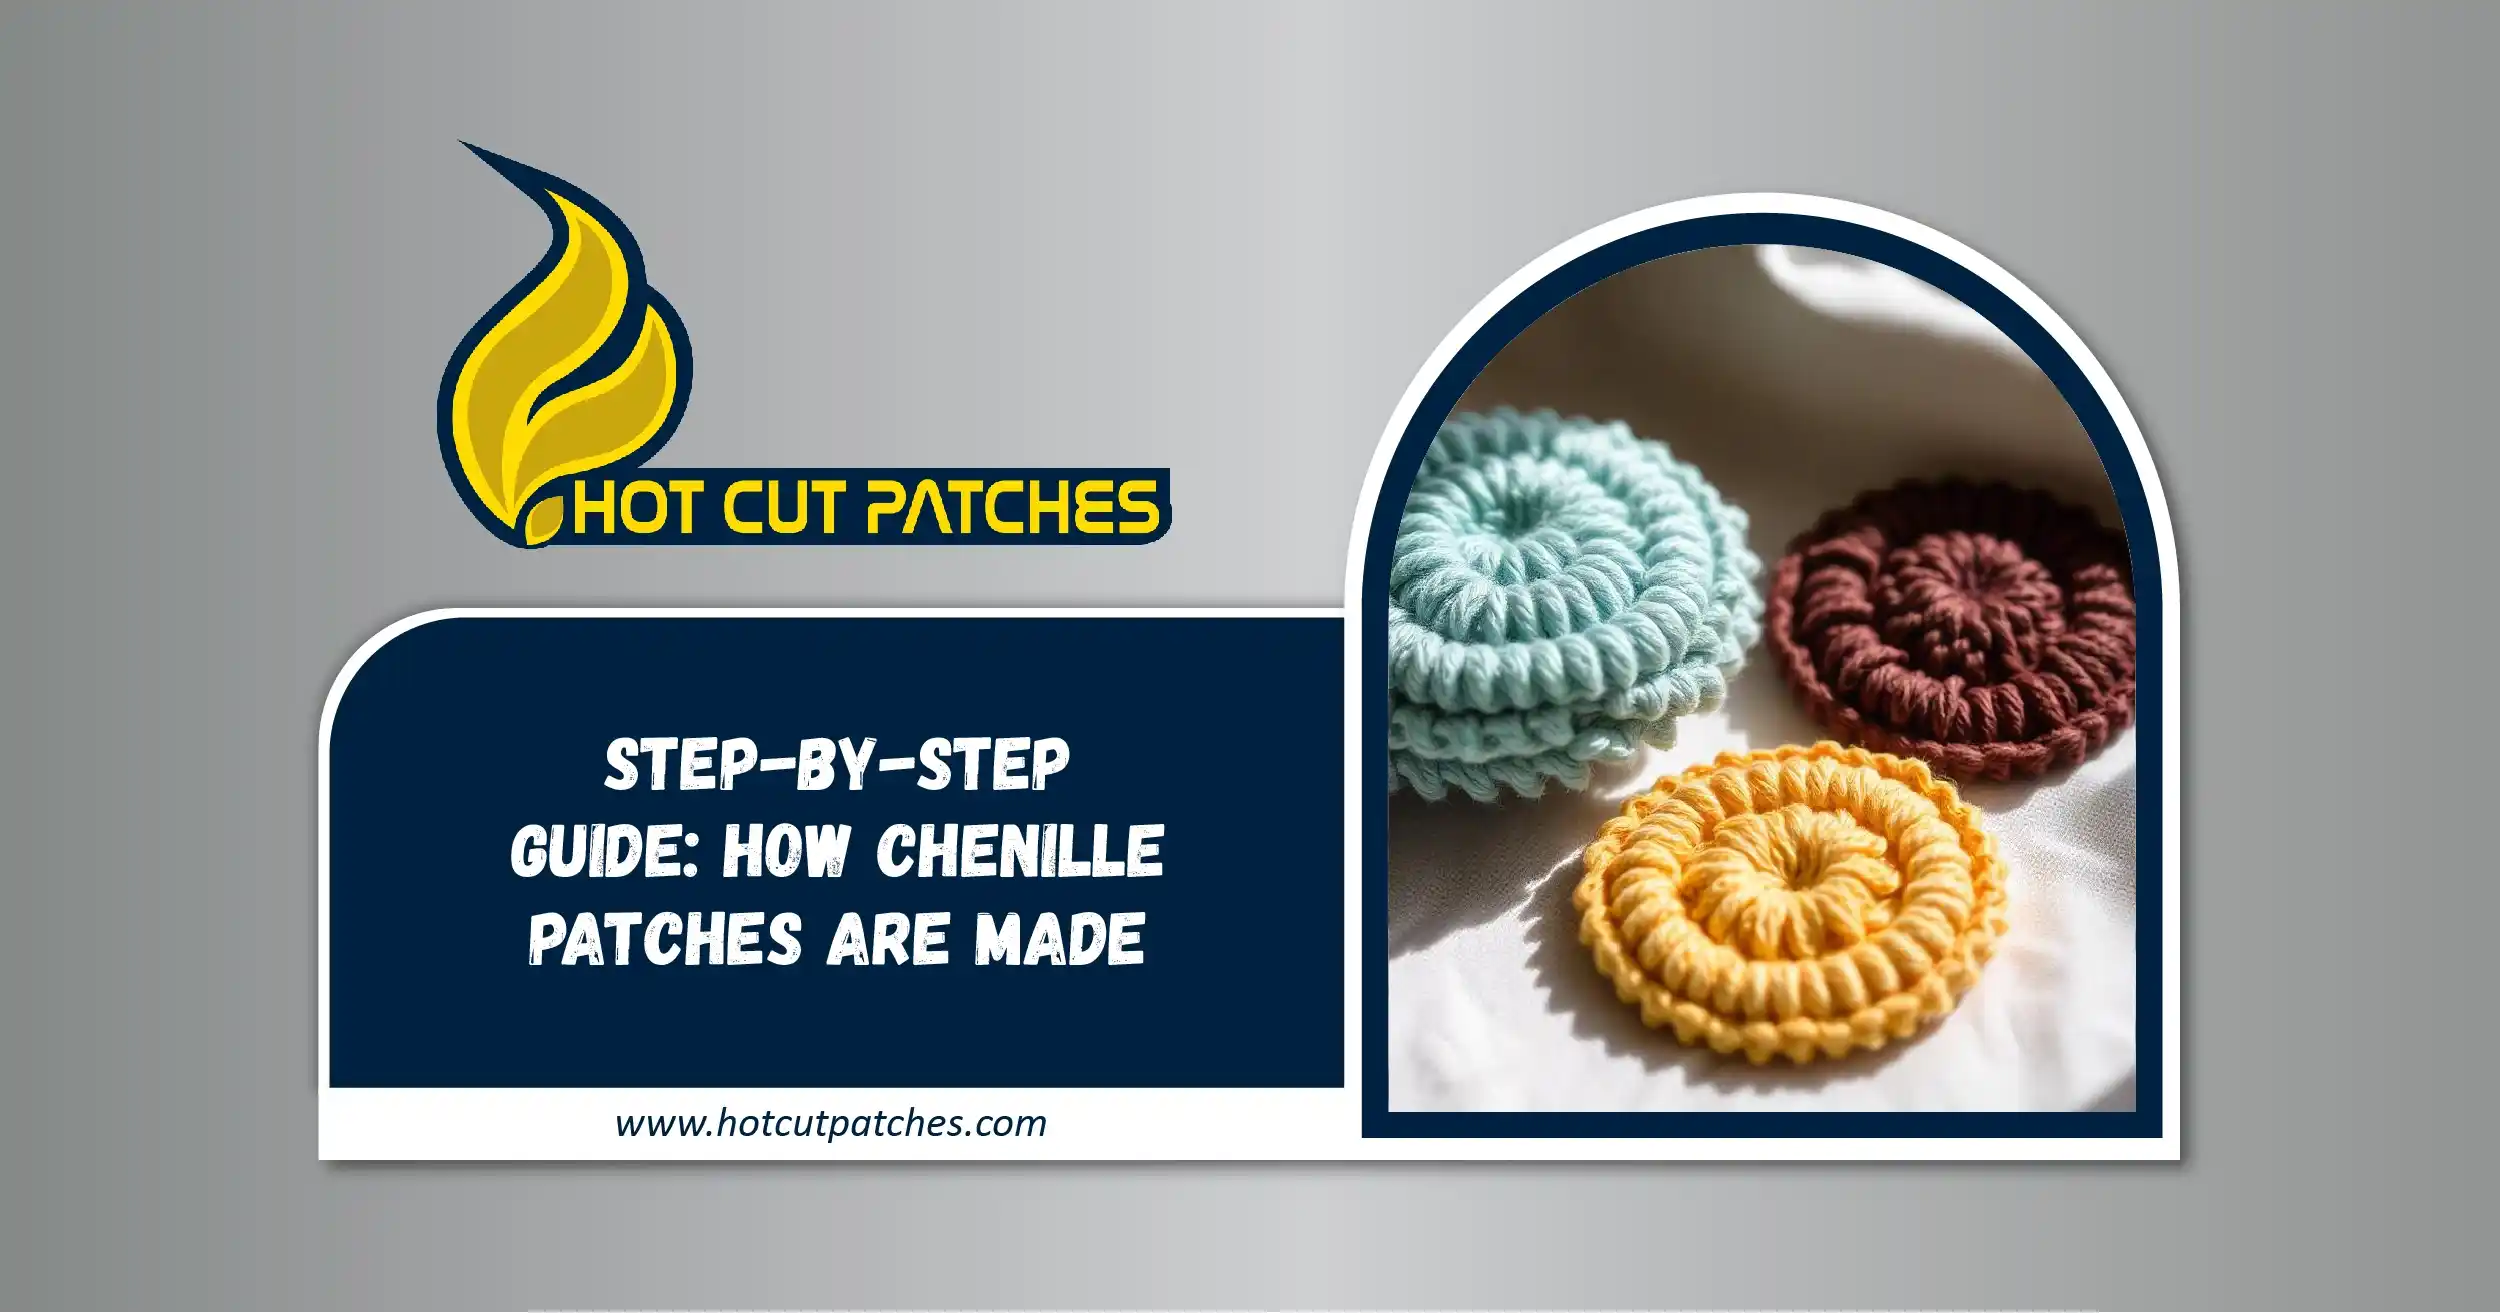
1. Understanding Chenille Patches: Why Choose Chenille?
Chenille patches are distinct due to their soft, raised texture, created from looped yarn. This characteristic texture gives chenille patches their unique look, making them popular for sports teams, especially for varsity jackets and letterman sweaters.
Key Features of Chenille Patches:
Texture: The fuzzy appearance makes chenille patches stand out and adds depth to the design.
Durability: Chenille patches are long-lasting, able to endure years of use when attached securely.
Versatility: Available in various colors, shapes, and sizes, chenille patches can be customized to fit any design concept.
These qualities make chenille patches an ideal choice for sports teams that want to make a bold statement and symbolize team unity.
2. Designing Your Custom Chenille Patch: Essential Steps
Step 1: Define Your Team’s Identity
Before diving into the patch design process, it’s essential to establish your team’s identity. Is your team all about power and speed? Do you value tradition and excellence? These traits should be reflected in your patch design. Consider your team’s colors, mascot, and motto, as these elements will shape the foundation of your patch.
For instance, a football team might want to emphasize strength and agility with bold fonts and strong colors, while a tennis team might prefer a more elegant, refined design.
Step 2: Choose Your Color Scheme
The right color combination can elevate the look of your chenille patch and make it more striking. Chenille patches are often used in school sports teams, so you might want to incorporate your school’s colors into the patch design.
When choosing colors, consider using bright, bold hues that contrast well with the raised chenille texture. For example, a blue background with gold accents can create a sharp, elegant contrast. You can also explore custom woven patches if you want to experiment with intricate patterns and multiple color variations.
Step 3: Select the Right Fonts and Icons
Chenille patches allow for the inclusion of both text and images, making them perfect for displaying your team’s name, logo, or slogan. Choose fonts that complement your team’s vibe. Block lettering works well for football or hockey teams, whereas script fonts might be better suited for a cheerleading squad or tennis team.
Make sure the text and icons are large enough to be easily recognizable from a distance. Incorporating simple and bold graphics, like your team’s mascot or emblem, will give the patch visual appeal and meaning.
Step 4: Incorporate Texture and Depth
One of the defining features of chenille patches is their raised, fluffy texture. To make your patch truly stand out, you can mix different textures. For example, you can use chenille yarn for your team’s name and a smoother embroidery for the emblem or mascot. Combining custom embroidered patches with chenille adds dimension and uniqueness to your design.
Additionally, consider integrating materials like felt, which works well as a base for chenille patches. Felt is durable and can serve as the background canvas that highlights the rich chenille texture.
3. Practical Additions to Your Chenille Patches
Custom Velcro Patches for Flexibility
If you want the freedom to swap patches between jackets or uniforms, consider adding custom Velcro patches to your chenille designs. Velcro patches offer the flexibility of easy attachment and removal, making them perfect for team gear that requires versatility.
Sew-On or Iron-On Patches for Durability
Depending on how frequently your chenille patches will be used, you may prefer custom sew-on patches or custom iron-on patches for a more permanent application. Sew-on patches offer extra durability, making them ideal for team uniforms, especially for contact sports. Alternatively, iron-on patches are easier to apply and are a great option for items like team sweatshirts or casual apparel.
4. Caring for Your Chenille Patches
Once your custom chenille patches are designed and applied, you’ll want to ensure they stay in top condition. Here’s how to care for your patches to ensure they maintain their texture and durability:
Gentle Washing: Always wash chenille-adorned clothing in cold water and on a gentle cycle. Avoid hot water or strong detergents, which can damage the patch’s texture.
Air Dry: Let garments with chenille patches air dry to preserve the patch’s fibers. Heat from a dryer can cause the patch to lose its fluffiness.
Spot Clean: For delicate items like custom leather patches, it’s best to spot clean the patch area using a damp cloth to remove stains without affecting the material.
5. Customizing Chenille Patches Wholesale for Your Team
When designing patches for a sports team, it’s often more cost-effective to order chenille patches wholesale. This ensures uniformity across all team members and allows for additional patches for fans, supporters, or even as promotional merchandise.
Wholesale orders also allow for greater customization options, such as adding intricate logos, personalizing each team member’s name, or creating patches for various team achievements. If you’re ordering custom PVC patches or custom patches wholesale, consider incorporating chenille textures into your order for an extra layer of personalization.
6. Why Choose Hot Cut Patches for Your Team’s Custom Chenille Patches?
At Hot Cut Patches, we take pride in creating patches that embody your team’s spirit. Our expert designers work with you every step of the way, from sketching the initial design to selecting the perfect colors and textures for your custom chenille patches.
Whether you’re looking for intricate custom embroidered patches, durable custom sew-on patches, or versatile custom Velcro patches, we can deliver. We also offer chenille patches wholesale to ensure every team member gets their personalized patch.
Conclusion
Designing custom chenille patches for your sports team is a fantastic way to unify the team and show off your spirit. From selecting your team colors and icons to adding practical features like Velcro backing or sew-on options, there are endless ways to make your chenille patches unique and meaningful. With proper care and thoughtful design, these patches will serve as cherished mementos for years to come.