
Chenille patches have long been a symbol of prestige, warmth, and style. Popularized in varsity jackets and sports uniforms, these patches stand out with their fluffy, textured surface that adds depth and character to any design. But have you ever wondered how these charming patches are made? In this step-by-step guide, we’ll delve into the fascinating process of creating chenille patches, from conceptual design to the final product.
If you’re looking to create custom chenille patches, understanding this process will help you appreciate the artistry involved. Not only are chenille patches visually appealing, but they also bring a unique softness and texture that make them perfect for jackets, bags, and more.
Step 1: Designing the Chenille Patch
The process of creating a chenille patch begins with an idea or design. Whether you’re working with custom embroidered patches, custom leather patches, or any other type, the design phase is crucial. The first step is to conceptualize the look, including the colors, textures, and shape. Many manufacturers offer the option of creating completely custom designs based on your specifications.
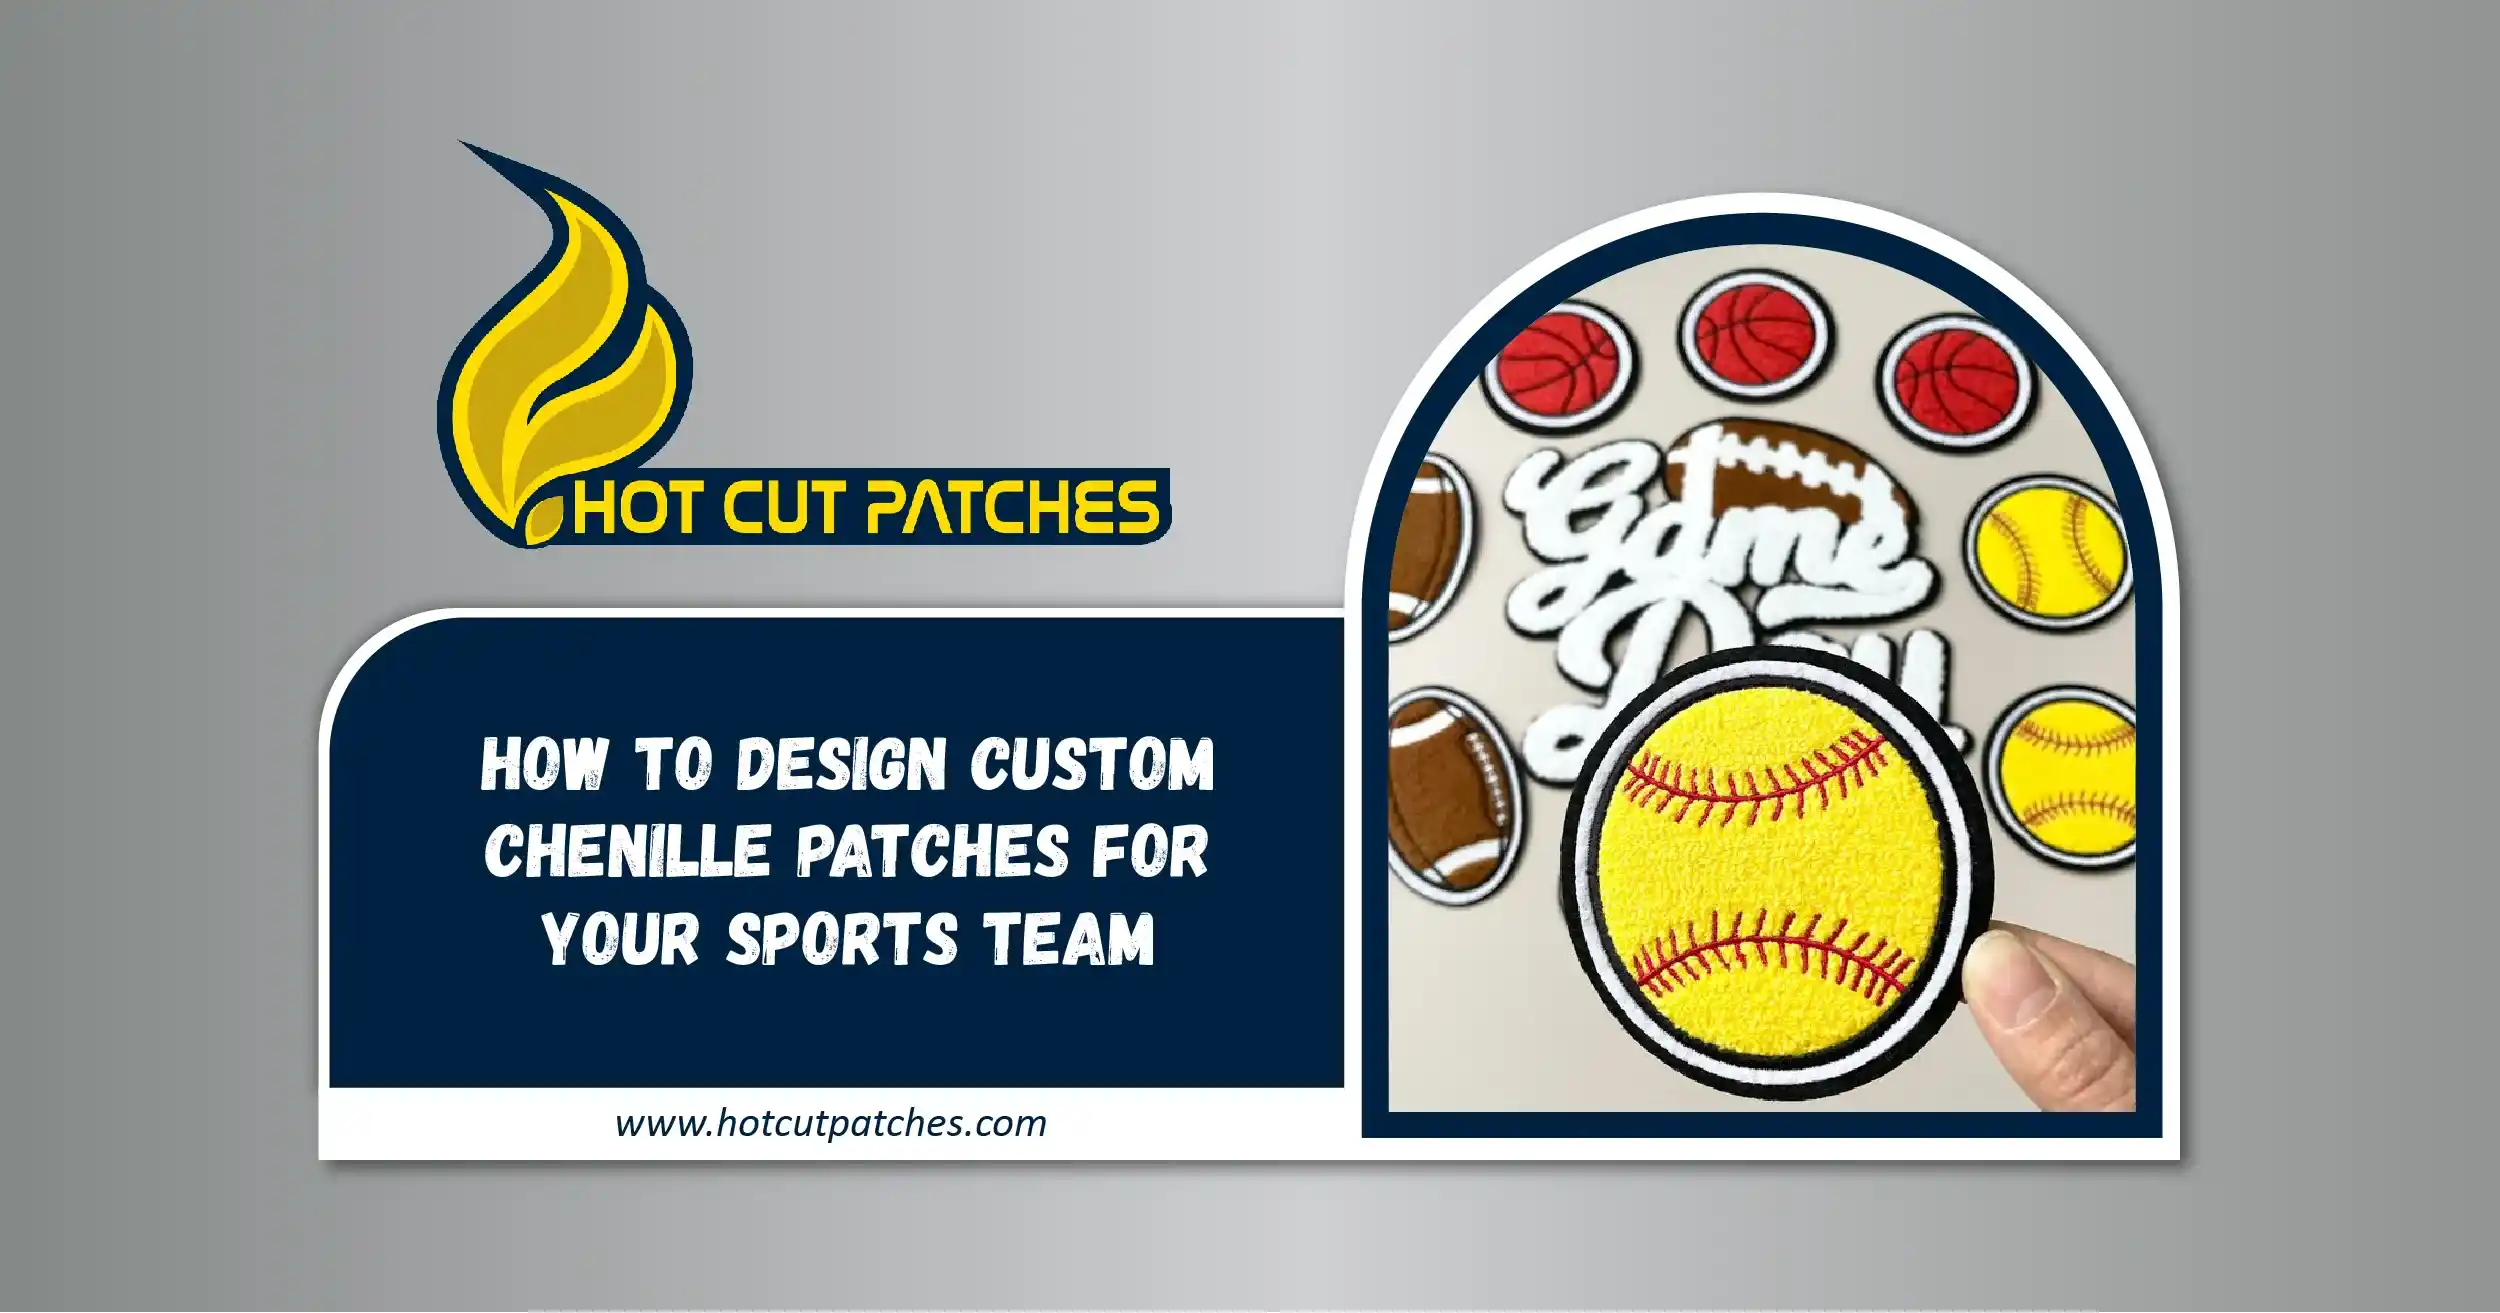
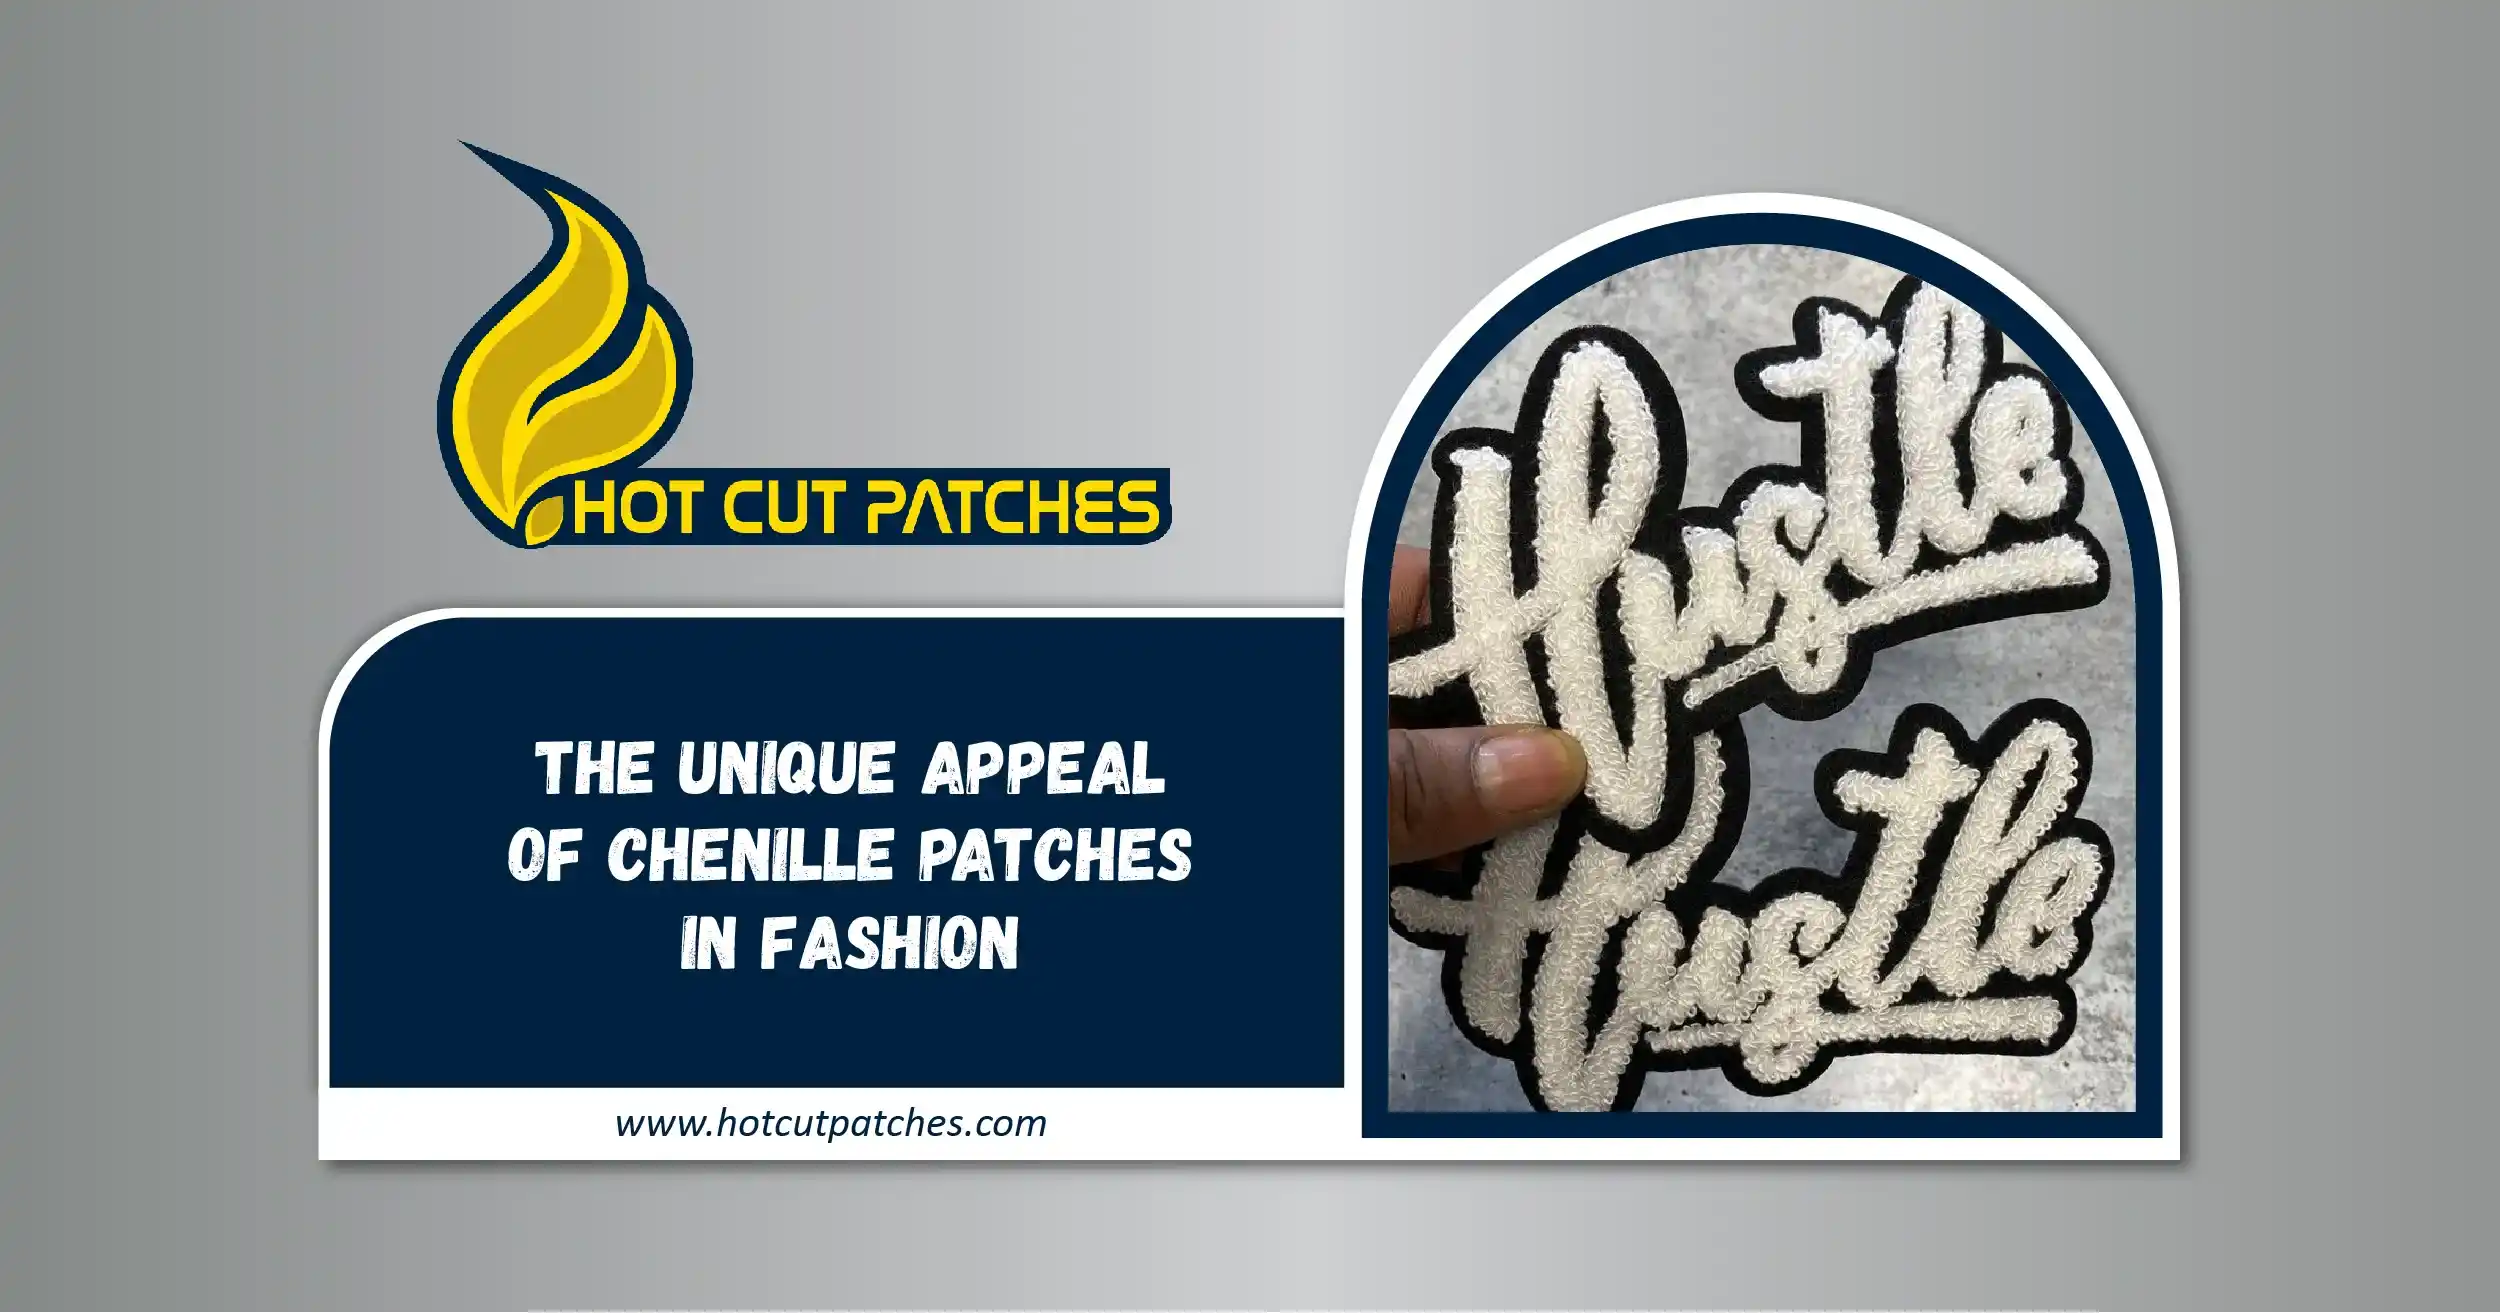
For chenille patches, the design often includes bold letters, mascots, or shapes. The key is to keep the design simple and recognizable, as chenille threads work best with thicker lines and large shapes. Detailed embroidery isn’t possible in the same way as with custom woven patches, so clarity and boldness are essential.
Once the design is finalized, it’s transformed into a digital file that can be read by the embroidery machines. This is known as the digitizing process, where every line, curve, and color is mapped out.
Step 2: Selecting the Materials
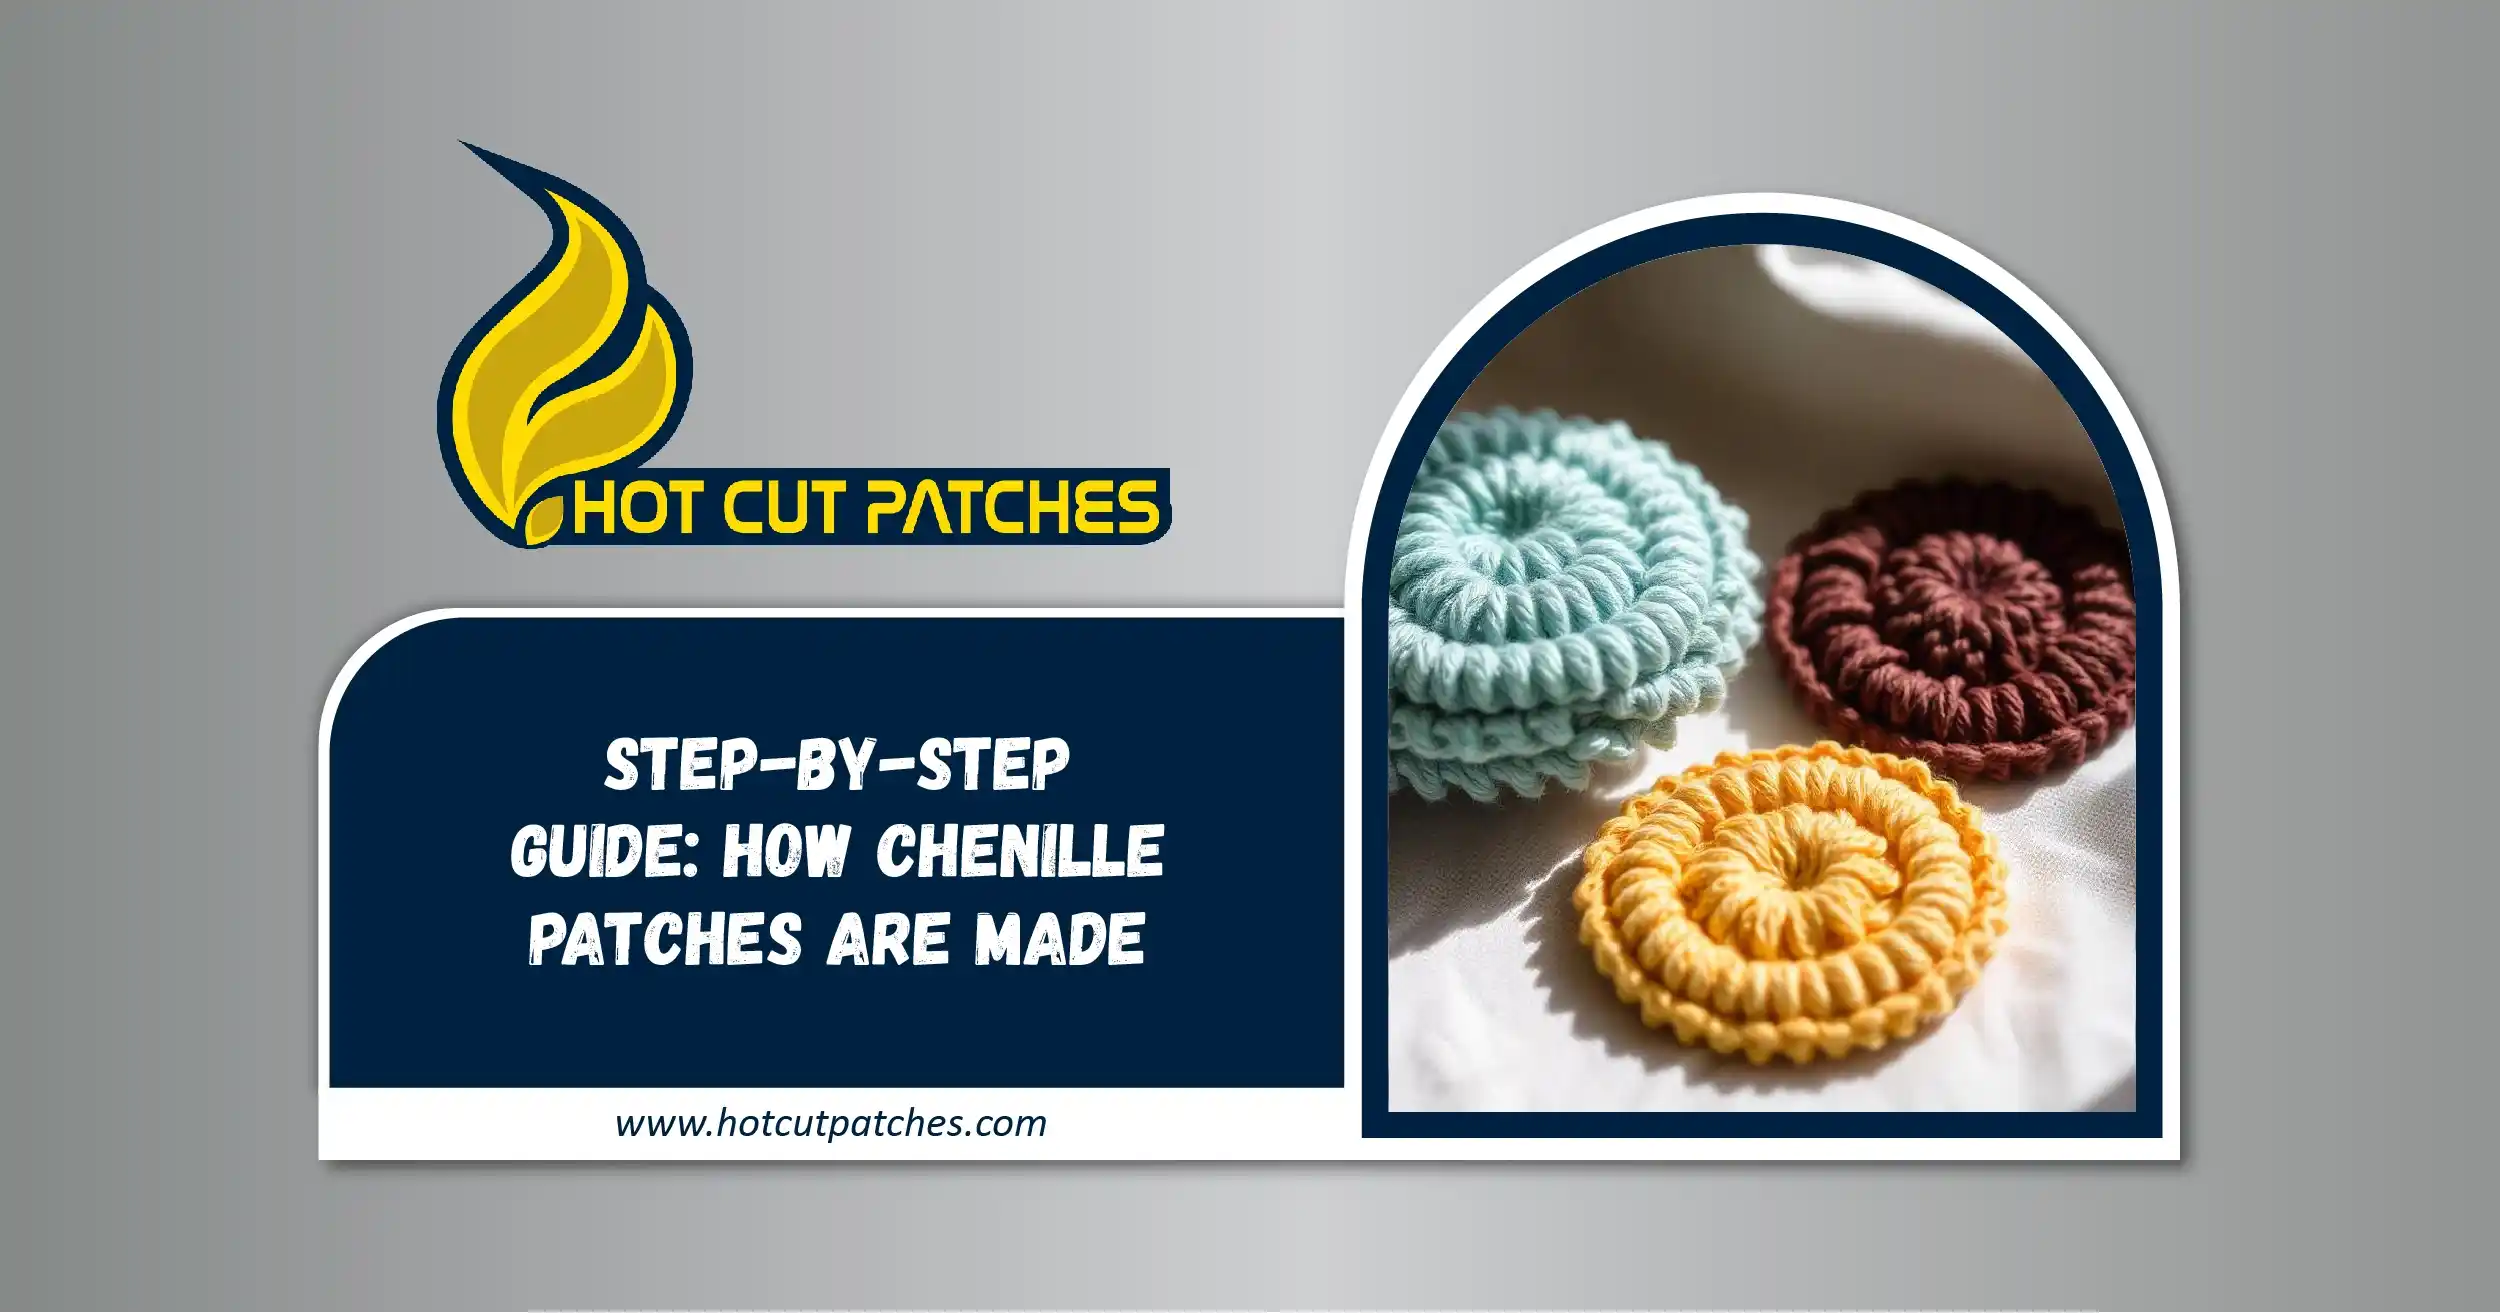
Chenille patches are known for their fluffy, soft appearance, which is achieved using a combination of yarn and felt. The base of the patch is usually made from high-quality felt, which provides a sturdy background. On top of that, chenille yarns—soft, thick threads—are used to create the textured, raised effect that makes chenille patches unique.
The yarn used in chenille patches can come in a variety of colors, allowing for custom and vibrant designs. Some clients may choose custom PVC patches for a more durable and waterproof option, but for those seeking a softer look, chenille is the preferred choice.
The chenille yarn is looped or stitched in a special way that forms a raised surface, giving the patch its signature fluffy feel. Once the materials are selected, it’s time to move on to the next step: the embroidery.
Step 3: The Embroidery Process
At this stage, the chenille patches start to come to life. The design is loaded into specialized embroidery machines, which follow the digitized pattern to stitch the chenille yarn onto the felt backing. Unlike traditional custom sew-on patches, chenille patches are created using a chain stitch. This looping stitch helps create the raised texture that distinguishes chenille from other types of embroidery.
The machine moves the felt under the needle, following the pre-programmed design. The chenille yarn is fed through the machine and stitched in loops, forming the fuzzy, textured letters or shapes on the patch.
In some designs, additional elements such as custom iron-on patches or custom leather patches may be incorporated to add variety and complexity to the patch. These contrasting materials can be sewn alongside or layered on top of the chenille for a mixed-media look.
Step 4: Adding Details with Felt or Embroidery
In many chenille patches, the fluffy yarn is not the only component. To add contrast and definition, additional details can be added using felt or standard embroidery techniques. This is often the case with varsity letters or team logos, where a contrasting color is needed for a crisp, clean finish.
This step involves layering cut-out pieces of felt in shapes such as borders, outlines, or inner details. Alternatively, for more intricate designs, regular embroidery threads are used to create smaller, finer details that wouldn’t be possible with chenille alone.
This combination of textures gives chenille patches their dynamic appearance, mixing fluffy chenille with the smoothness of felt or the precision of embroidered details.
Step 5: Cutting and Shaping the Patch
Once the design is fully stitched, the patch is cut into its final shape. Chenille patches can be cut into almost any shape, whether it’s a classic circle or square, or a custom shape that follows the contours of the design.
The patch is carefully trimmed along the edges to ensure a clean finish. The shape of the patch is critical, as it affects the overall appearance and how it will be applied to the garment or accessory.
Manufacturers that specialize in chenille patches wholesale can often accommodate large orders and custom shapes, ensuring that your patches are tailored exactly to your needs.
Step 6: Attaching the Backing
The next step is to add a backing to the patch. The type of backing depends on how the patch will be attached to the garment or item. Chenille patches can come with a variety of backing options:
Sew-on Backing: Ideal for jackets, bags, and other items where a permanent attachment is desired. Custom sew-on patches are among the most durable options.
Iron-on Backing: If you’re looking for a more convenient application method, custom iron-on patches allow for easy adhesion using just a heat press or household iron.
Velcro Backing: For those who need to switch out patches or prefer versatility, custom Velcro patches offer a quick and secure way to attach and remove patches as needed.
Step 7: Quality Inspection and Finishing
Before the patches are shipped out, each one undergoes a thorough quality inspection. This ensures that the stitching is secure, the colors are correct, and the patch meets the client’s specifications. Manufacturers with high-quality standards will inspect each patch for consistency, ensuring that every piece in a custom patches wholesale order is identical and of the highest quality.
Any loose threads are trimmed, and the patches are carefully packaged for delivery. Whether you’re ordering a few patches or thousands, the finishing touches make sure your patches arrive ready to be attached and worn with pride.
Conclusion
The process of creating chenille patches is a blend of traditional craftsmanship and modern embroidery techniques. From the design phase to the final inspection, each step contributes to the creation of a patch that is not only visually stunning but also durable and versatile.
Whether you’re looking for custom embroidered patches, custom PVC patches, or chenille patches, each type of patch has its own unique appeal. Chenille patches, in particular, stand out for their fluffy, textured appearance and ability to make bold, eye-catching statements. Whether for sports teams, fashion, or promotional purposes, chenille patches are a fantastic way to showcase logos, mascots, and designs with a touch of flair.
Now that you understand the process of how chenille patches are made, you can better appreciate the artistry involved in each piece. If you’re looking to create your own custom chenille patches, be sure to work with a manufacturer that understands the delicate balance of materials, textures, and craftsmanship needed to bring your design to life.